
Film cameras offer a unique, tactile photography experience with manual controls, fostering creative expression․ The process of loading film, adjusting settings, and capturing moments provides a satisfying, hands-on approach․ Unlike digital cameras, film cameras emphasize patience and intentionality, making each shot meaningful․ Their durable design and timeless aesthetics have led to a resurgence in popularity among photographers seeking authenticity․ This manual guides you through mastering film photography, from basics to advanced techniques, ensuring you make the most of your film camera․
1․1 Brief History of Film Cameras
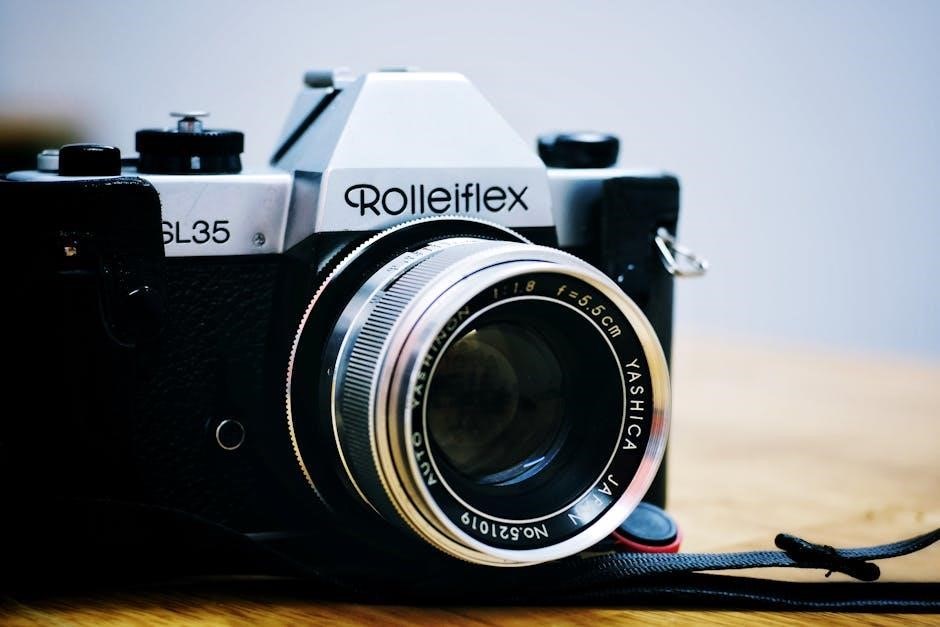
Film cameras trace their origins to the mid-19th century, evolving from daguerreotypes to modern SLRs․ The first roll-film camera emerged in 1888, revolutionizing accessibility․ By the 20th century, iconic models like the Leica M6 and Pentax K1000 became synonymous with photography․ Despite digital advancements, film cameras remain popular, cherished for their tactile experience and unique aesthetic․ Today, brands like Leica and Pentax continue to produce film cameras, blending tradition with modern innovation․
1․2 Benefits of Using a Film Camera
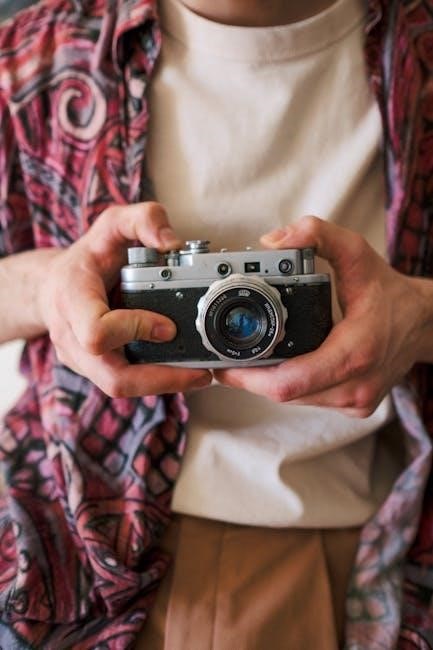
Film cameras offer a unique, hands-on photography experience with manual controls, fostering creativity and precision․ They encourage intentional shooting, as each frame is a deliberate choice; The tactile process of loading film and adjusting settings enhances the connection to the craft․ Additionally, film cameras are durable, with timeless designs that withstand the test of time․ Shooting with film also teaches patience and appreciation for the medium, making it a rewarding journey for photographers of all levels․
1․3 Purpose of a Film Camera Manual
A film camera manual serves as an essential guide for understanding and utilizing your camera’s features effectively․ It provides step-by-step instructions for loading film, adjusting settings, and troubleshooting common issues․ The manual ensures optimal performance and helps photographers master both basic and advanced techniques․ By following the manual, users can unlock their camera’s full potential, enhancing their overall photography experience․
Components of a Film Camera
A film camera consists of essential parts like the lens, viewfinder, shutter, and film compartment․ These components work together to capture images effectively, ensuring proper exposure and focus․
2․1 Exterior Parts of the Camera
The exterior of a film camera includes the camera body, lens, viewfinder, mode dial, and shutter button․ These components are designed for durability and ease of use․ The body is often made of metal or high-quality plastic, ensuring longevity․ The lens is a crucial part for focusing light, while the viewfinder helps frame shots accurately; The mode dial allows selection of shooting modes, and the shutter button captures the image․ Proper handling of these parts ensures optimal performance and image quality․
2․2 Interior Components and Their Functions

The interior of a film camera includes the shutter, aperture, and light meter, which work together to capture images․ The shutter controls exposure time, while the aperture regulates light entry․ The light meter ensures proper exposure by measuring light intensity․ Additionally, the film transport mechanism advances the film, and internal springs or levers handle the camera’s mechanical operations, ensuring precise and smooth functionality during each shot․
2․3 Lens and Accessories
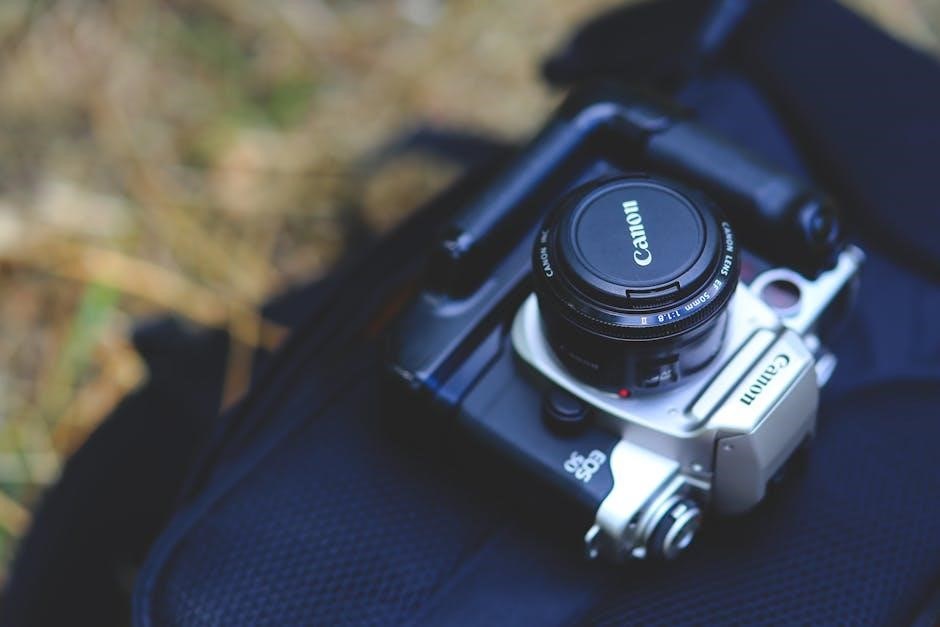
The lens is the heart of the camera, capturing light to form images․ Prime lenses offer sharpness and simplicity, while zoom lenses provide versatility․ Accessories like filters enhance color or reduce glare, and lens hoods prevent unwanted light․ Additional tools such as flashes and tripods expand creative possibilities․ Each component plays a role in refining the photography experience, ensuring optimal results in various shooting conditions and lighting scenarios․
Loading and Unloading Film
Loading film requires precision to ensure proper alignment and avoid exposure․ Unloading must be done in a dark environment or using a changing bag to protect the film from light, ensuring your photos remain intact and ready for development․
3․1 Steps to Load Film into the Camera
- Prepare a dark or low-light environment to prevent film exposure․
- Open the camera by releasing the film door latch or L-shaped lever․
- Remove the film canister and pull out the leader end․
- Align the film leader with the camera’s take-up spool, ensuring proper insertion․
- Gently advance the film using the rewind knob until it engages securely․
- Close the camera and wind the film to the first frame, ensuring it’s tightly wound․
- Check the film counter and ensure it’s set to the correct starting position․
- Refer to your camera’s manual for specific loading instructions if unsure․
3․2 Safely Unloading Film
- Always rewind the film completely in a dark or low-light environment to prevent exposure․
- Use the camera’s rewind knob to manually wind the film back into its canister․
- Ensure the film counter returns to zero before opening the camera․
- Open the camera and carefully remove the film canister, avoiding direct light․
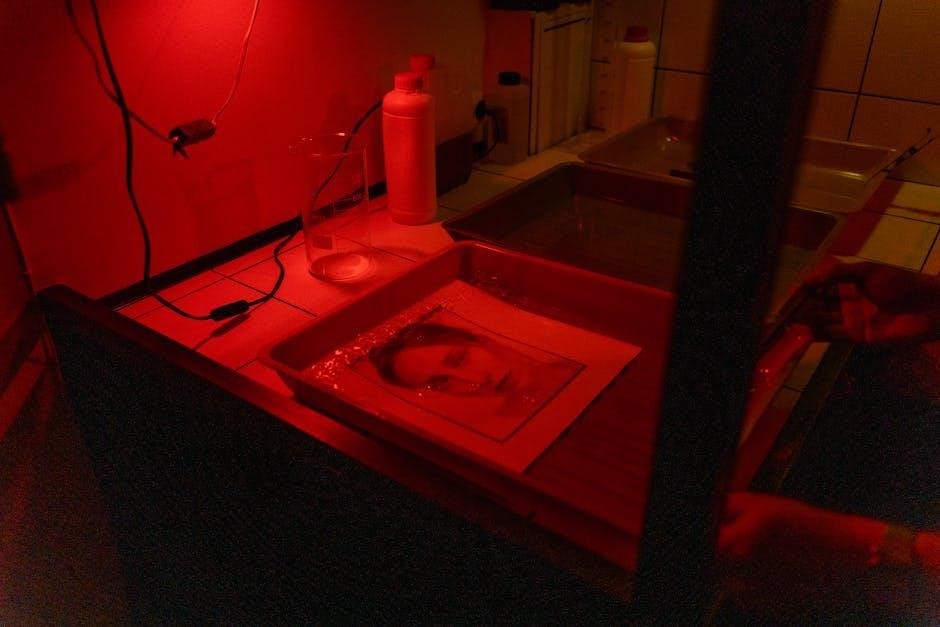
- Store the exposed film in a light-tight container or envelope for processing․
- Consider using a film changing bag for added safety when unloading․

Understanding Exposure Settings
Understanding exposure settings in film cameras involves adjusting aperture, shutter speed, and ISO to manage light, motion, and sensitivity, crucial for capturing high-quality images consistently․
4․1 Aperture, Shutter Speed, and ISO
Aperture controls light entry through the lens, measured in f-stops (e․g․, f/2․8), with lower values allowing more light and shallower depth of field․ Shutter speed, in seconds or fractions, regulates exposure duration, freezing or blurring motion․ ISO sets film sensitivity, with lower values (e․g․, ISO 100) suited for bright light and higher values (e․g․, ISO 400) for low-light conditions․ Balancing these elements is key to achieving optimal exposure in film photography․
4․2 How to Use the Light Meter
A light meter measures ambient light to guide accurate exposures․ Point the meter at your subject, ensuring it faces the light source․ Adjust aperture, shutter speed, or ISO based on the meter’s reading to achieve a balanced exposure․ Built-in meters in film cameras simplify this process, providing precise readings․ Proper use ensures your photos are neither overexposed nor underexposed, capturing the desired mood and detail effectively․

Focusing and Metering
Focusing and metering are essential for capturing sharp, well-exposed images․ Manual focusing allows precise control, while built-in meters ensure accurate light readings, enabling optimal exposure settings․
5․1 Manual Focusing Techniques
Manual focusing requires precise adjustment of the lens to ensure sharp images․ Use the focusing ring gently, employing techniques like pre-focusing or zone focusing․ Ensure steady hands to avoid camera shake․ Utilize the viewfinder or rangefinder for accurate focus․ Practice makes perfect in achieving crisp, well-focused shots consistently․
5․2 Using the Built-In Light Meter
The built-in light meter helps achieve accurate exposures by measuring ambient light․ Adjust aperture, shutter speed, or ISO based on its readings․ Ensure the meter is set to the correct mode (spot, center-weighted, or multi-zone)․ Proper use of the light meter ensures balanced exposures, preventing overexposed or underexposed images․ Regularly calibrate the meter for precise results, especially in challenging lighting conditions, to optimize your film photography outcomes․
Shooting Techniques
Mastering shooting techniques enhances your film photography experience․ Start with basics like composition and lighting, then explore advanced methods such as multiple exposures or long exposures for creative effects․
6․1 Basic Shooting Tips
- Always handle the camera gently to avoid damage or camera shake․
- Check the battery level before shooting to ensure uninterrupted use․
- Load film in low-light conditions to prevent exposure․
- Understand basic exposure settings: aperture, shutter speed, and ISO․
- Focus carefully, using the viewfinder or manual focus ring for precision․
- Check the lens for obstructions like dirt or fingerprints before shooting․
- Use the light meter to balance exposure for optimal results․
- Store the camera properly when not in use to maintain functionality․
6․2 Advanced Techniques for Better Photos
Experiment with bracketing to capture a range of exposures for high-contrast scenes․ Use multiple exposures to create layered, artistic effects․ Incorporate filters to enhance colors or reduce glare․ Practice panning to capture dynamic motion shots․ Explore slow sync flash to blend ambient light with flash․ These techniques, combined with manual controls, allow for greater creative expression and precision in your film photography․
Troubleshooting Common Issues
If your film isn’t advancing, check the ISO and frame counter․ For exposure errors, adjust settings and use a light meter․ Address mechanical issues promptly to ensure optimal performance and image quality․
7․1 Solving Film Loading Problems
Ensure the film is loaded in a dark environment or with the camera’s back closed․ Align the film leader with the spool, avoiding twists․ If the film doesn’t advance, check for obstructions or improper alignment․ Gently rewind if misloaded․ For persistent issues, consult your camera’s manual or online guides for specific models like the Kodak i60 or Leica Sofort 2․ Proper loading ensures smooth operation and prevents wasted film․
7․2 Fixing Exposure and Focus Errors
Check aperture, shutter speed, and ISO settings to ensure proper exposure․ Use a light meter for accurate readings․ For focus issues, ensure the lens is clean and free of obstructions․ Verify manual focus alignment with the subject․ If photos are consistently blurry, adjust the focus ring carefully․ Test settings on a test roll to identify and correct errors before shooting important scenes․
Maintenance and Care
Regularly clean the camera and lens with soft brushes and microfiber cloths․ Store the camera in a dry, cool place away from direct sunlight․ Handle with care to prevent damage․
8․1 Cleaning the Camera and Lens
Use a soft-bristled brush to gently remove dust from the camera body and lens․ Dampen a microfiber cloth with distilled water or lens cleaning solution for smudges․ Avoid harsh chemicals or abrasive materials․ For stubborn marks, apply a small amount of cleaning solution directly to the cloth, not the lens․ Regular cleaning prevents scratches and ensures optimal image quality․ Store cleaning tools in a dry place to maintain their effectiveness․
8․2 Storing the Camera Properly
Store your film camera in a cool, dry place away from direct sunlight and moisture․ Use a protective case or pouch to prevent scratches and dust accumulation․ Keep the lens cap on when not in use․ Avoid extreme temperatures or humid environments, as this can damage internal components․ For long-term storage, consider removing the film and battery to prevent degradation or corrosion․ Proper storage ensures your camera remains functional and ready for use․
Resources for Film Photographers
Explore extensive resources for film photographers, including instruction manuals, online forums, and communities․ Websites like Butkus’s library and Analog․Cafe offer free manuals and guides for various film cameras․
9․1 Where to Find Instruction Manuals
Instruction manuals for film cameras can be found online through resources like Orphan Cameras and M․ Butkus’s library, offering free downloads for various models․ Websites such as Analog․Cafe provide translated manuals, while forums and communities share user guides․ Many manufacturers, like Leica and Kodak, also offer PDF versions of manuals for their film cameras․ These resources are invaluable for understanding and maintaining your camera, ensuring optimal performance and longevity․
9․2 Online Communities and Forums
Online communities and forums are invaluable for film photographers, offering platforms to share knowledge, ask questions, and showcase work․ Websites like Orphan Cameras and Analog․Cafe host forums where users discuss techniques and troubleshoot issues․ These spaces foster collaboration, providing resources for mastering film photography․ Active communities ensure support for both beginners and experienced photographers, helping them overcome challenges and enhance their skills in the art of film photography․
Film cameras have seen a resurgence, offering photographers a unique, hands-on approach to their craft․ Embrace the process, experiment, and enjoy creating timeless images with film photography․
10․1 Final Tips for Mastering Film Photography
Experiment with different films to find your style․ Understand your camera’s mechanics thoroughly․ Practice manual focusing and exposure settings for precision․ Shoot with intention, as each frame counts․ Learn from mistakes and embrace the uniqueness of analog photography․ Store your camera and film properly to maintain quality․ Explore resources like Butkus Archives and Analog․Cafe for guides․ Keep practicing to refine your craft and enjoy the rewarding journey of film photography․